Building Your First Home: Liv's Journey | Part One
Looking at building your first home? Follow along with our Window Design expert, Liv, as she begins the exciting journey of building her very first home with her partner.
There are a lot of moving parts to building your first home, and we believe with knowledge there is power! Liv will be sharing the highs and lows that come alongside venturing on a first build, we hope this can assist you and make your journey easier!

Our Journey Begins
My partner Josh and I have been together for almost 6 years now. We have dreamed of owning our first home together for the majority of that time but we were unable to afford it until Josh had completed his engineering degree. I patiently waited and waited… and waited… while he completed his study.
In January 2020 he began working as a graduate fire engineer, meaning we both had full time incomes and would be able to apply for a loan from the bank.
Initially we had planned to buy an existing older home and renovate it, but after doing some research, we realised we could actually build our first home for not much more and get exactly what we wanted! We spent early 2020 working hard and saving our butts off for a deposit. Josh set up an expense and saving tracker spread sheet which we stuck to very strictly. This helped us a lot!

After the lock down, during the end of May, Josh and I began exploring our local show homes together which was great fun. We began to notice how similar our tastes were and really develop a good idea of exactly what we were after and what we could afford. However when we went in search for a section we realised our options were quite limited.
Choosing A Section
Ideally, we wanted to stay in North Canterbury but there weren’t many sections available in our price range. After a good look around, the new Ravenswood subdivision appealed to us the most due to the affordable section prices.
When we went to the Ravenswood office, there were only about 10 available sections left in Stage Two, which was due for its Titles to be released at the end of 2020. We were a quite concerned by this because if we missed out on Stage Two, we would have to wait until the end of 2021 for Titles to be released in Stage Three! We were both very eager to leave the nest and begin our lives together.
We really wanted a section bordering the edge of the subdivision, next to farmland, so that we didn’t feel too closed in. We also wanted to be on a quiet street, away from the main thoroughfare through to Pegasus. We approached a handful of building companies that owned sections in Stage Two and the company that had the largest selection of sections that appealed to us was G.J. Gardner Homes.
After hearing many positive things about G.J. and liking the sections they had, we struck up a conversation with one of the Sales representatives, Mark, from the Ravenswood show home, who got the ball rolling for us. We pointed out the sections we were interested in so that he could begin developing a floor plan for us.

Concept Plans & Decision Time
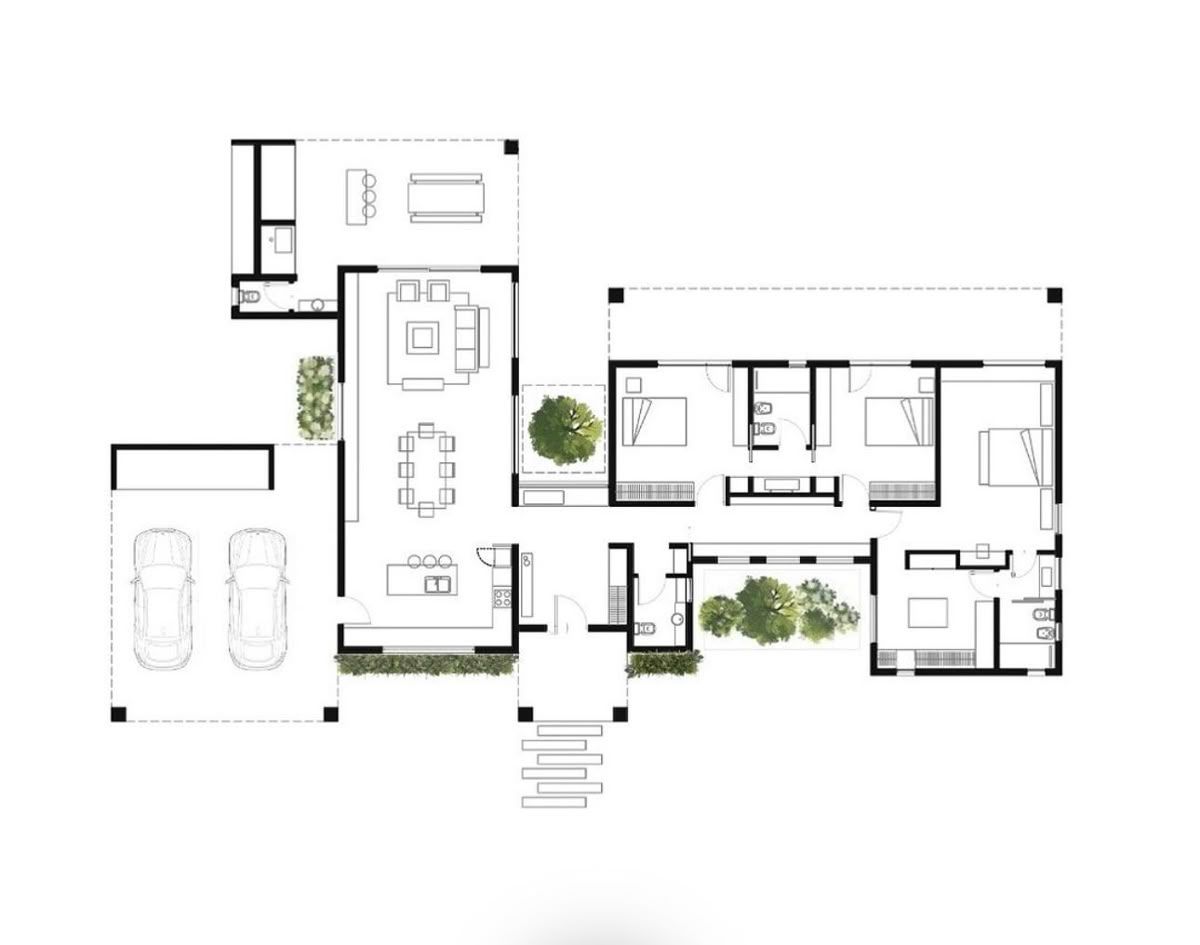
Mark asked us what we value the most in our lives. We both said family, so that indicated we would need a large open living space to entertain and spend time with our loved ones. He also walked us through the G.J. show home and we discussed all the things we liked and didn’t like.
After getting to know us really well he designed four concept plans for us which combined most of what we wanted while keeping as close as possible to our budget and being able to fit on the sections we were interested in. We chose our favourite plan and kept tweaking it until we were happy with it. This process took several weeks.
Before going any further G.J. required a preliminary deposit to secure a section, begin the process of getting detailed plans drawn up and to allow the quantity surveyor to accurately price our build. The big issue we had was that Stage Two was still being developed with major earthworks currently taking place and we were very hesitant to lock in a section without seeing exactly where it would be. What concerned us most was the large established oak trees and some scattered pine trees along the subdivision boundary - we didn’t want them blocking our afternoon and evening sun.

The G.J. sections were selling very fast and now there was only one left that we really wanted so we did feel a sense of urgency to secure it.
If we missed out we would be SOOOO gutted as we were already emotionally invested in the design we had developed to fit on that section. One Friday evening, on the 26th of June, after a lot of discussion, we sent Mark a text and told him we wanted Lot 203 and we were going to pay the deposit asap. I remember this evening so clearly; we both felt a huge sense of relief and were beyond excited that we had finally secured a section for our first home. It was going to be ours; the whole 449 square meters of dirt was going to be ours!
Almost a month later, Mark managed to arrange a site visit with the developers for us. Josh picked me up from work on a chilly winter’s morning and we put on our gummies and our high vis vests to venture out on site. The boundary pegs were in so we could roughly make out the size of our section. It’s fair to say we were over the moon with our choice!

We have both learnt so much in the early stages of the build journey, so I have carefully curated a handy checklist of things we think are important to consider & check off on your journey.

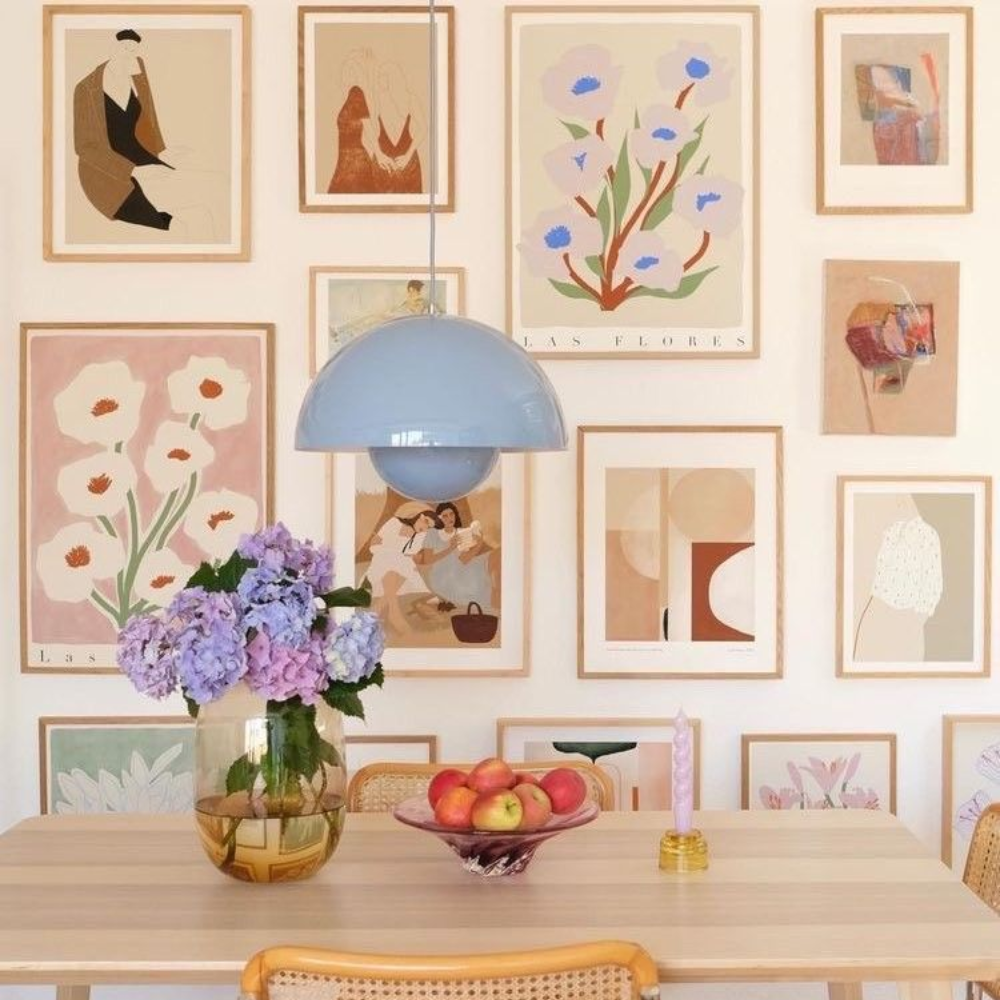
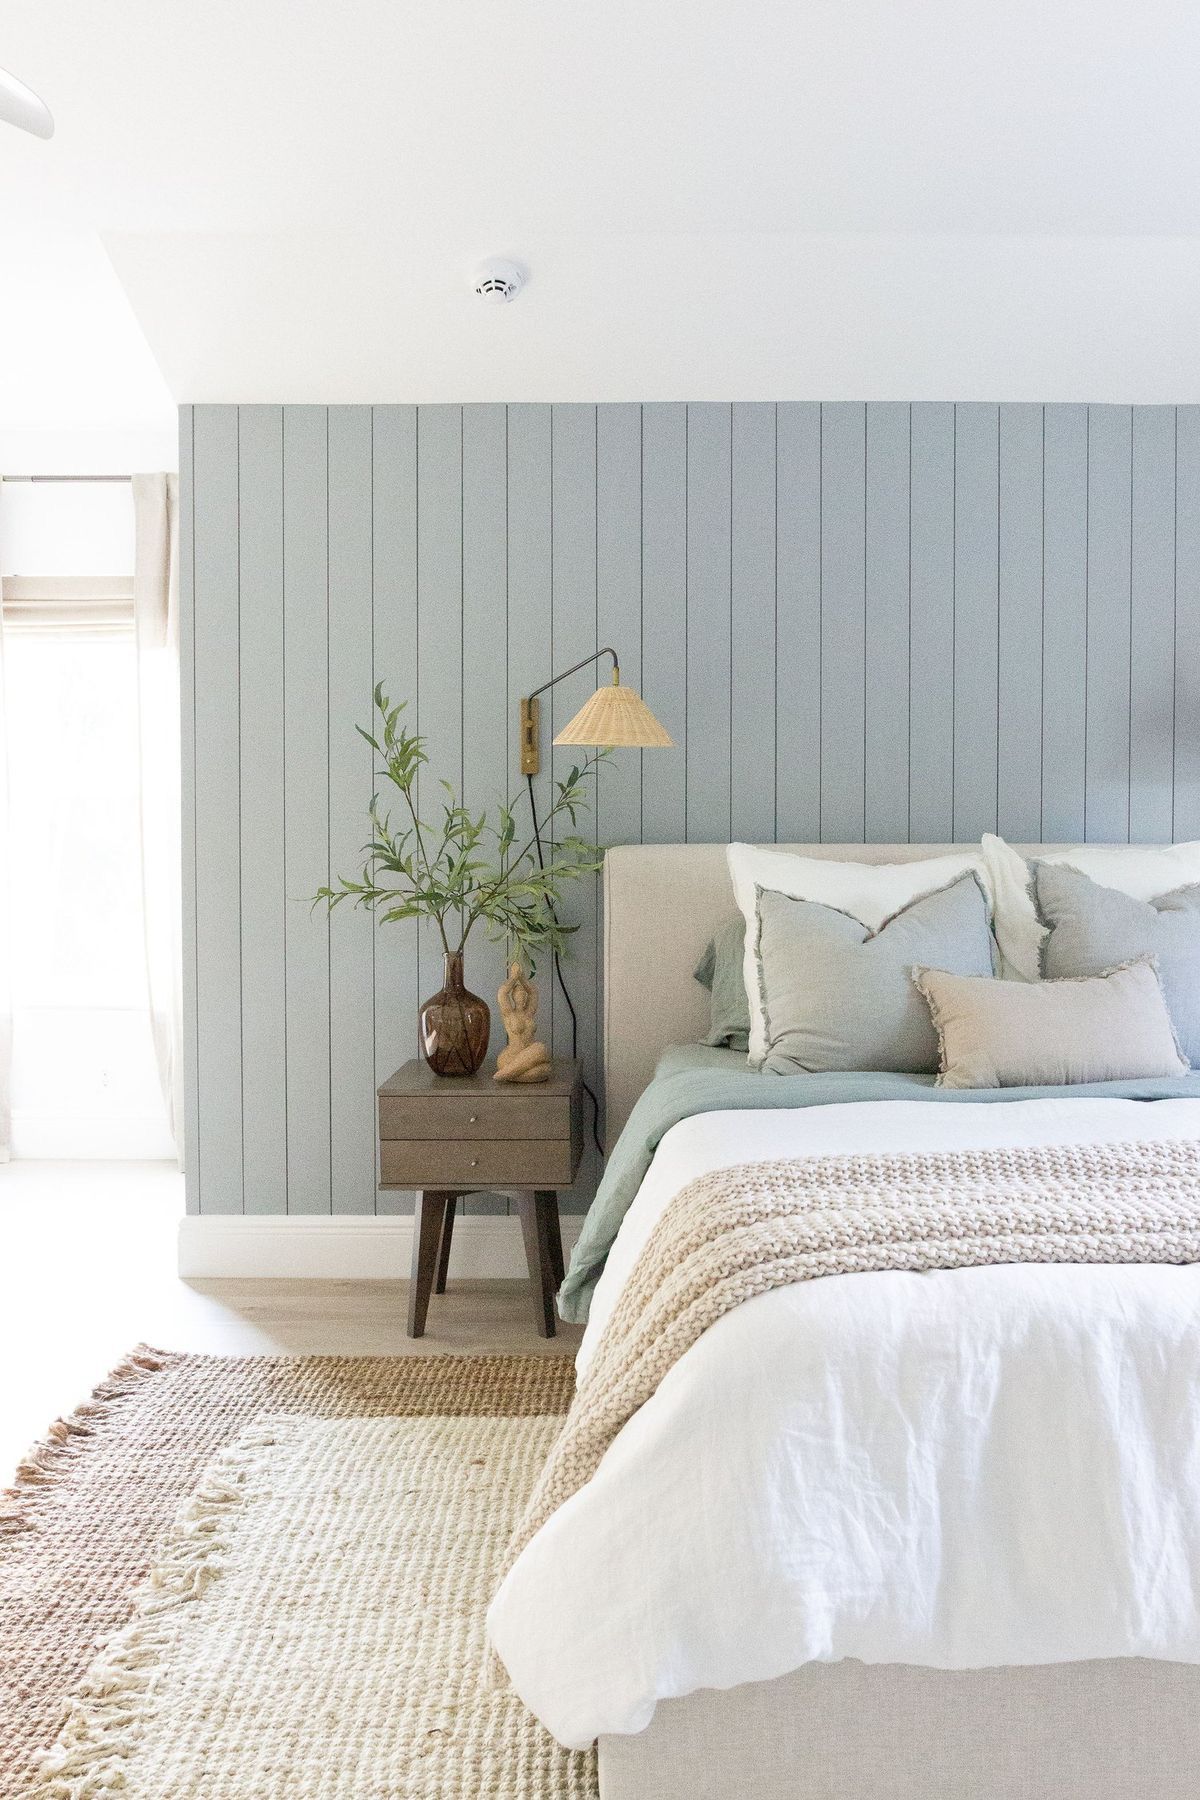
1. Visit Show Homes
Show homes are a good place to start and get ideas/inspiration. I found that taking photos of things we liked and things we didn't like worked really well. Make sure to ask what the build price is of the home so that you can get an idea of what you can get for that price. Most companies have a tiered pricing system to start you off with e.g. Express, Silver, Gold, Platinum.
2. Research Building Companies
Visit their websites to find out about how their build process works etc. Most companies have a gallery of images you can flick through as well as floor plan designs.
3. Discuss Your Budget
It is great to have a rough idea of your budget. But keep in mind it's good to be flexible in case you may want to upgrade something you come across in the design process. (We ended up choosing a brick from a higher price range for example.)
4. Research Banks & Mortgage Advisors
The financial side of it can be a little complicated and confusing. We highly recommend using a mortgage advisor to guide you through the process if it is new to you. They can help you select a bank to use for your loan, apply for a pre-approval and give you an idea of what you can actually afford. There are a lot of different advisors out there so look around and have a chat to a few before choosing who to use.
5. Look for a Section
Do some research into subdivisions you are interested in or look online for listings - if you can, go for a drive around to get a feel for the area. Think about what is important to you e.g. would you prefer to be tucked away on a private back section or be able to enjoy a beautiful view? Take notice of the shape, size and orientation of the section and consider this when designing a floor plan.
6. Decide What Is Important To You In A Home
Have a good idea of the 'non-negotiables' and negotiables - are three bedrooms and two bathrooms a must? Would you like a double garage or is a single one? Do you want an outdoor entertainment area? A separate lounge? There are so many questions to ask yourself to get a really good idea of what matters the most to you. This will help when designing or selecting a floor plan.
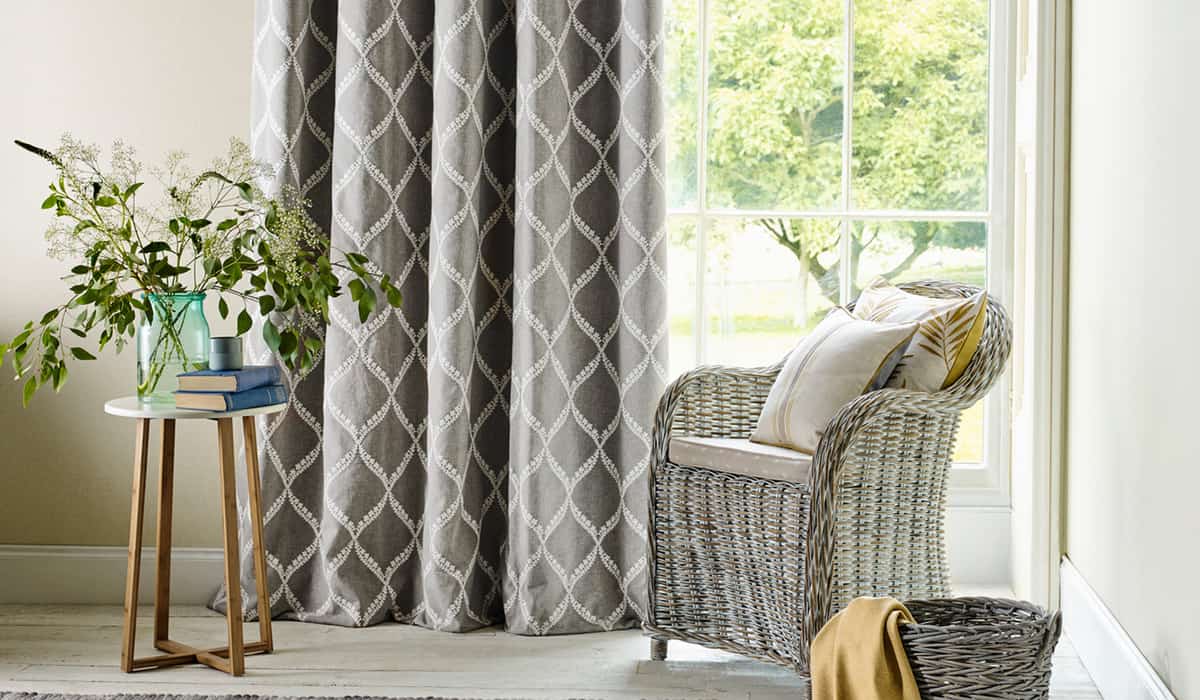
7. Exterior Inspo
Go for a drive on the weekend to have a look at the exteriors of homes. This will give you an idea of what type of cladding you are after, what colours you like and what roof style you prefer etc.
8. Get Inspired
As well as visiting show homes, jump online and do some research on what style of home you would like (exterior and interior). I found Pinterest a great tool for inspiration (we ended up choosing our kitchen colours based on a kitchen I found on Pinterest!). Once you have saved a good selection of images you will be able to look back on them and notice the regular styles you like.
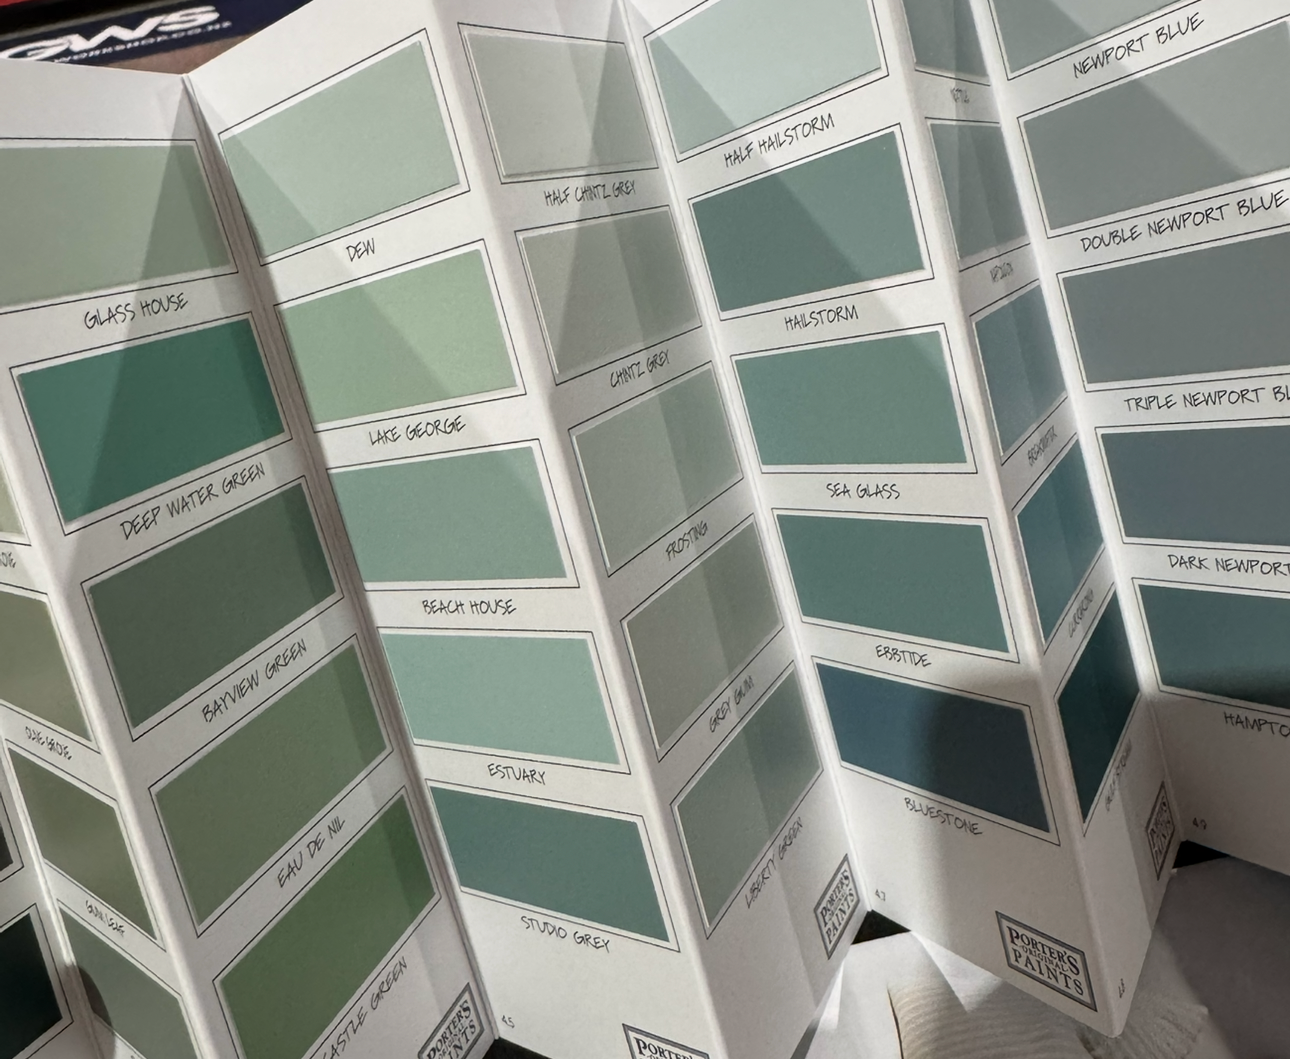
9. Collect Samples
GJ gave us a list of their suppliers prior to our colour consultation so we were able to visit them and collect samples. It's great to be able to look at all of your samples together and have a play with some mood boards to see how it all works together. Just remember... sometimes less is more so that you don't get confused. This also goes for asking for other peoples' opinions - we found this out the hard way! Remember it's your home so as long as you like it, that's all that matters!
10. Stay Organised
Throughout the research, planning and design process you will end up collecting lots of brochures, samples and information from various companies and people. We kept everything together in a folder and took a notebook with us everywhere we went so that we could note down important information and advice. There is so much to learn which can be quite overwhelming, so by taking notes, we were able to process the information in our own time and remember everything!
Stay tuned for our next update as we delve into our decision making, our plans and more financial tips.
Thanks again for following along,
Liv & Josh
xx